Home About Resources Contact Plans

Woodworking Techniques & Methods

75+ essential techniques with step-by-step instructions, joinery methods, cutting processes, and finishing techniques. Master the skills that make woodworking an art.

Butt Joint

Joinery Beginner Quick Hand Tools
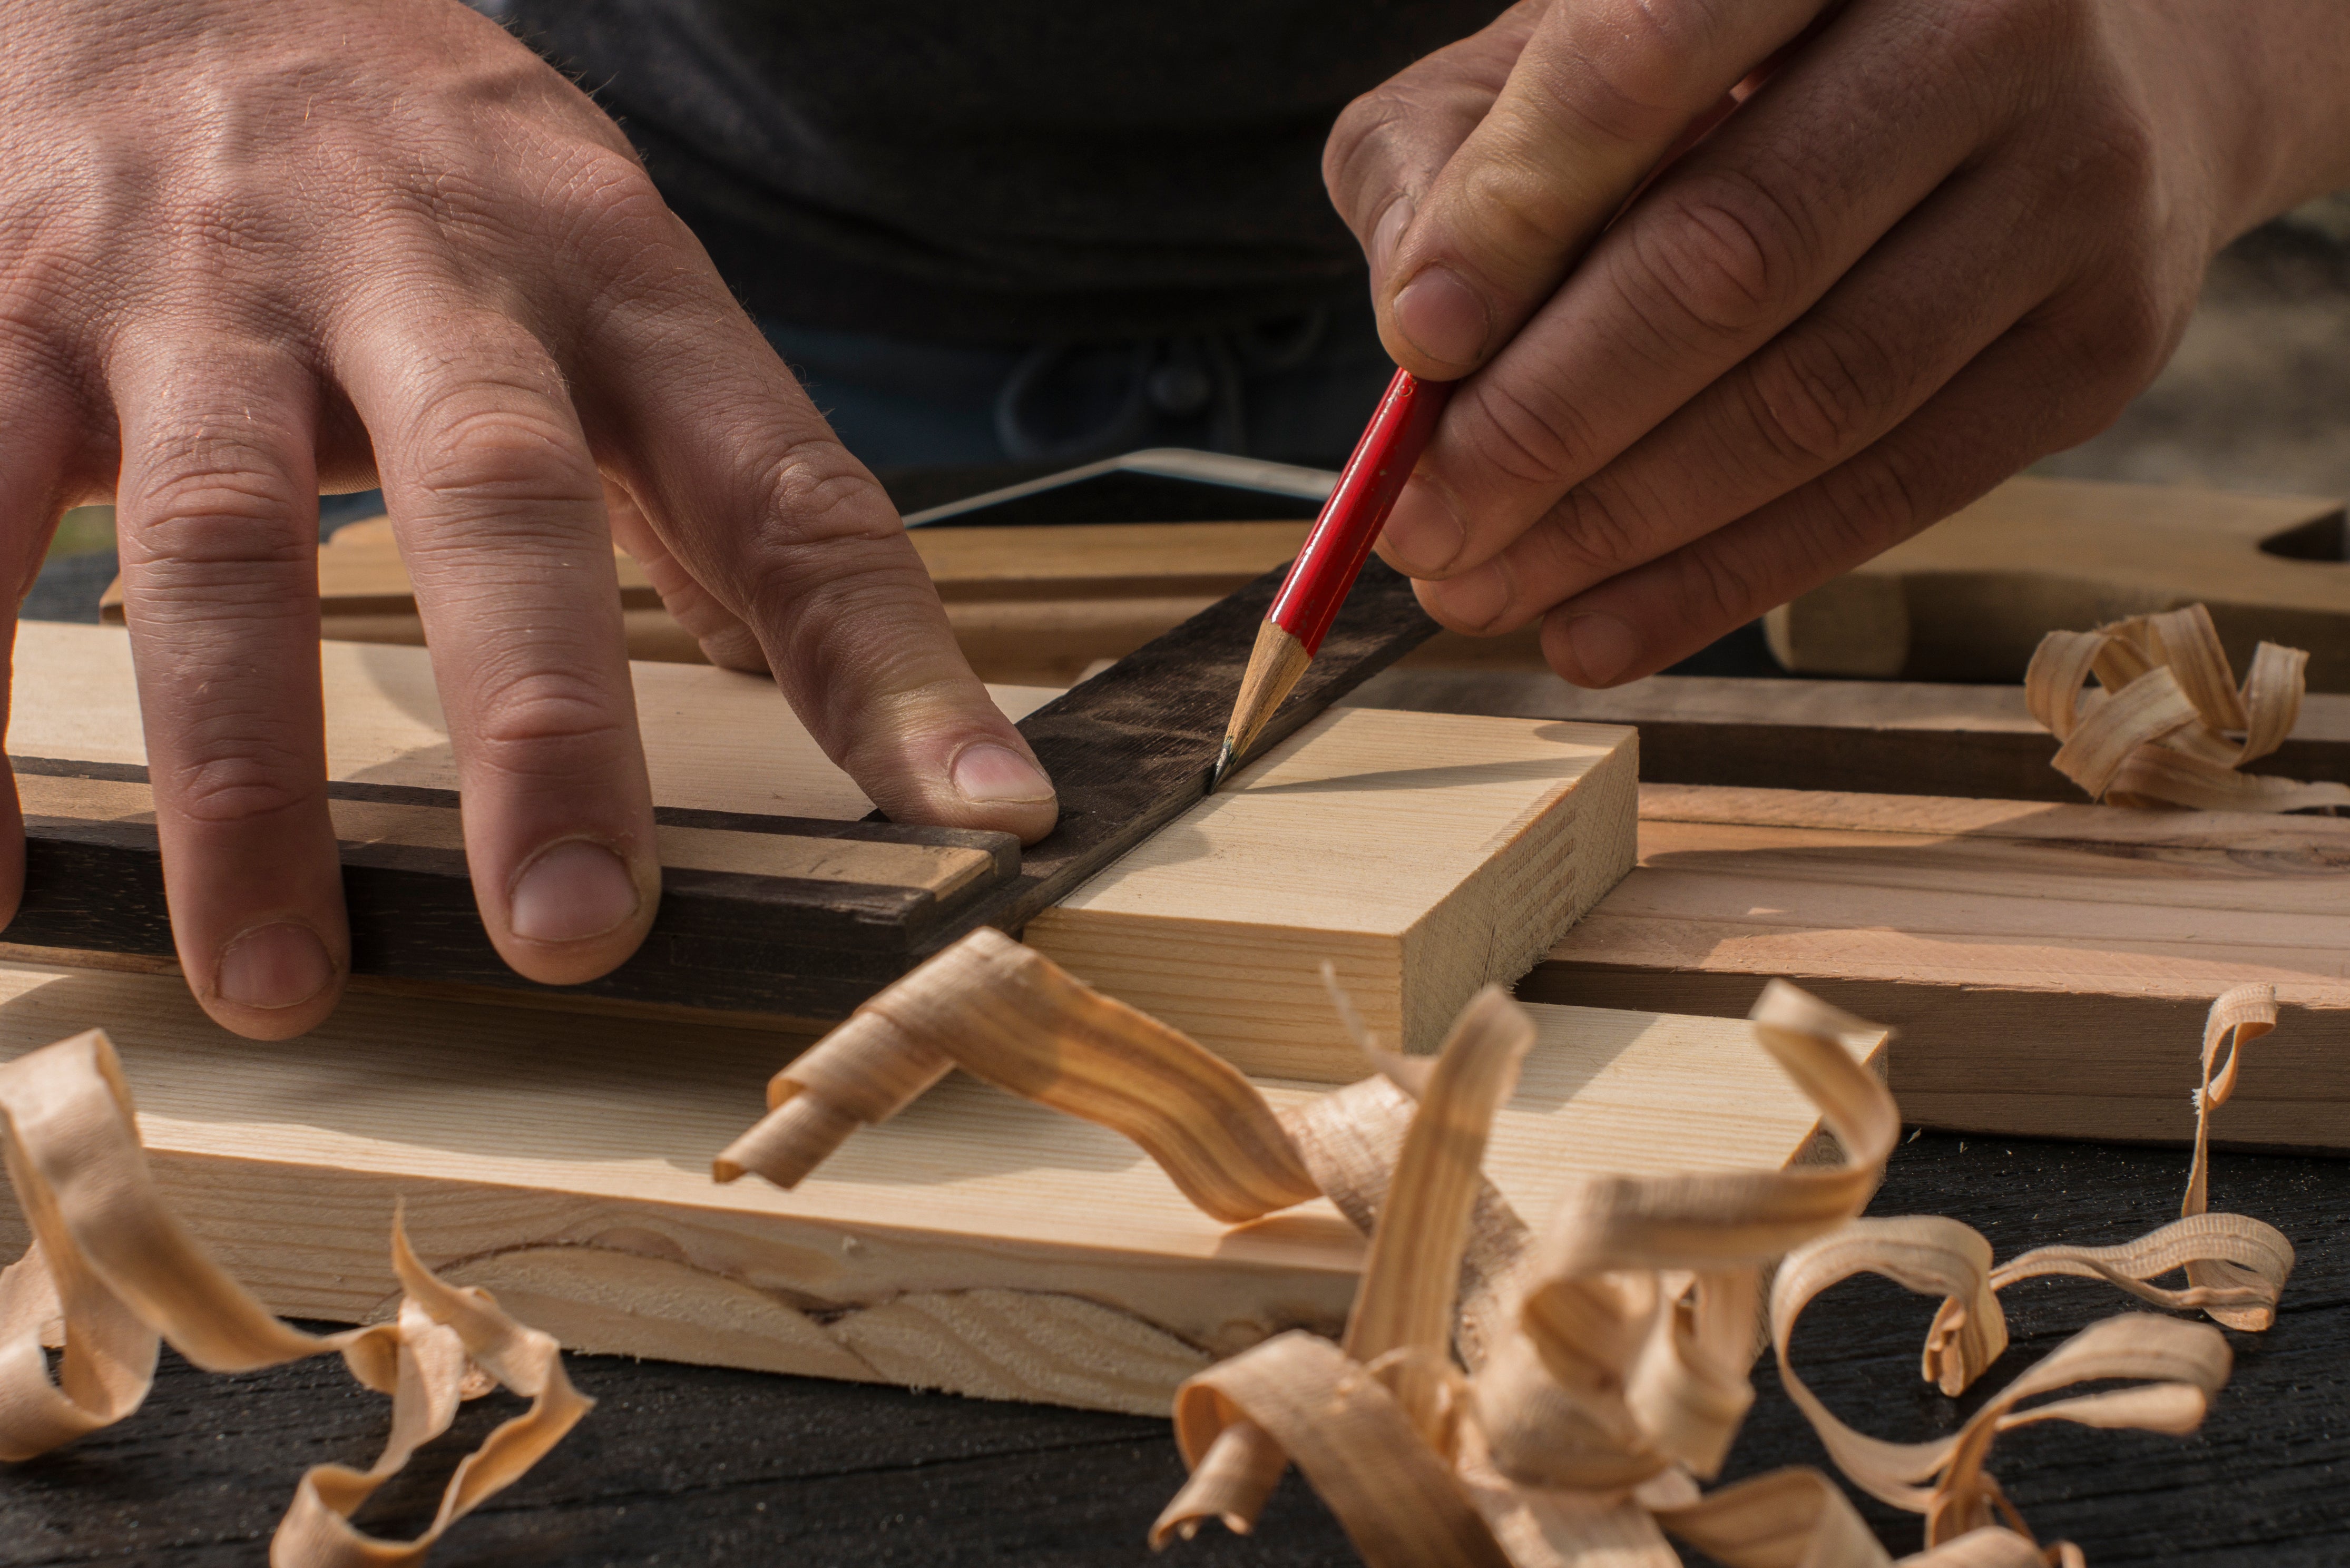
Butt joint technique
Strength: Low to Medium
Difficulty: Very Easy
Time: 15-30 minutes
Best For: Simple boxes, frames, beginner projects

What It Is

The simplest wood joint where two pieces of wood meet end-to-end or edge-to-edge. Basic but versatile for many projects.

When to Use

  • Simple boxes and frames
  • Beginner projects
  • Quick prototypes
  • Non-structural applications
  • Projects that will be reinforced

Step-by-Step Process

  1. Prepare the pieces: Ensure both edges are straight and square
  2. Apply glue: Spread wood glue evenly on both surfaces
  3. Clamp together: Use clamps to hold pieces firmly
  4. Check alignment: Ensure pieces are properly aligned
  5. Let dry: Allow glue to cure for 24 hours

Tips for Success

  • Use a square to ensure 90° angles
  • Apply even pressure with clamps
  • Wipe off excess glue immediately
  • Consider reinforcing with screws or nails
  • Practice on scrap wood first

Common Mistakes

  • Not checking for square edges
  • Insufficient clamping pressure
  • Using too much glue
  • Not allowing enough drying time
  • Expecting too much strength
Full Details →

Dado Joint

Joinery Intermediate Medium Power Tools
Dado joint technique
Strength: High
Difficulty: Medium
Time: 1-2 hours
Best For: Shelves, cabinet construction, bookcases

What It Is

A rectangular groove cut across the grain of a board to receive the end of another board. Creates strong, hidden joints perfect for shelves and dividers.

When to Use

  • Bookshelves and bookcases
  • Cabinet construction
  • Drawer dividers
  • Furniture with shelves
  • Any project needing strong support

Step-by-Step Process

  1. Mark the dado: Use a marking gauge or pencil to mark width and depth
  2. Set up the saw: Adjust table saw blade height and fence position
  3. Make multiple passes: Cut the dado in several passes for clean results
  4. Test the fit: Ensure the mating piece fits snugly
  5. Glue and clamp: Apply glue and clamp until dry

Tools Required

  • Table saw with dado blade set
  • Marking gauge or combination square
  • Clamps for assembly
  • Wood glue
  • Safety equipment (glasses, hearing protection)

Tips for Success

  • Use a dado blade set for clean cuts
  • Make multiple passes for better results
  • Test fit before gluing
  • Account for blade kerf in measurements
  • Use a sacrificial fence for safety
Full Details →

Mortise & Tenon

Joinery Advanced Long Hand Tools
Mortise and tenon joint
Strength: Very High
Difficulty: Advanced
Time: 3-6 hours
Best For: Fine furniture, chairs, traditional joinery

What It Is

A traditional woodworking joint where a projecting tenon fits into a corresponding mortise (hole). One of the strongest and most beautiful joints in woodworking.

When to Use

  • Fine furniture construction
  • Chair and table legs
  • Traditional joinery
  • Projects requiring maximum strength
  • Showcase pieces

Step-by-Step Process

  1. Mark the mortise: Use marking tools to outline the mortise
  2. Drill the mortise: Use a drill press or hand drill to remove waste
  3. Square the mortise: Use chisels to clean up the sides
  4. Create the tenon: Mark and cut the tenon to fit
  5. Test the fit: Ensure snug fit with slight resistance
  6. Glue and assemble: Apply glue and clamp until dry

Tools Required

  • Marking gauge and mortise gauge
  • Chisels (mortise and bench)
  • Drill press or hand drill
  • Hand saw or tenon saw
  • Mallet for chiseling

Advanced Tips

  • Use a mortise gauge for consistent marking
  • Cut the mortise first, then fit the tenon
  • Leave the tenon slightly oversized for final fitting
  • Use hide glue for traditional authenticity
  • Practice on scrap wood before the real project
Full Details →

Ready to Practice These Techniques?

Now that you've learned the techniques, put them to work with our woodworking plans designed to practice and perfect these skills.

Browse Woodworking Plans